
Full credit goes to MLP_is_my_OPSEC for writing this tutorial – thanks for publishing and giving permission to repost!
Part 0 – Introduction
Here’s my basic guide for PGP on OS X. The OS in question is OS X 10.9 Mavericks, but it should still work for other versions. As for the tool itself, we’ll be using GPG Suite Beta 5. This is my first time using OS X in years. If you see anything I’m doing wrong, or could be done easier, feel free to correct me in the comments.
If you’ve done your research, you’ll see it’s not recommended to do anything darknet related on OS X, but I’m not going to go over the details here. You’ve obviously made your decision.
>>> Add A Layer Of Encryption: Click For The Best VPN Services <<<
Part 1 – Installing the software
Like mentioned above, we’ll be using GPG Suite Beta 5. If you’re curious and want to see the source code, you can do so on the official website.
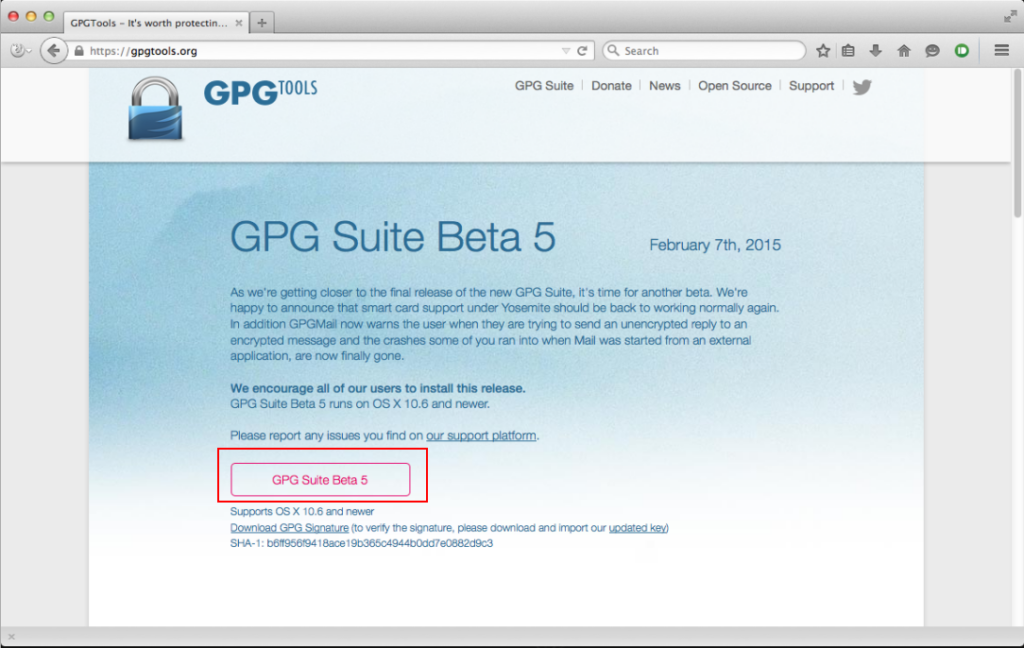
- Go to https://gpgtools.org and download GPG Suite Beta 5.
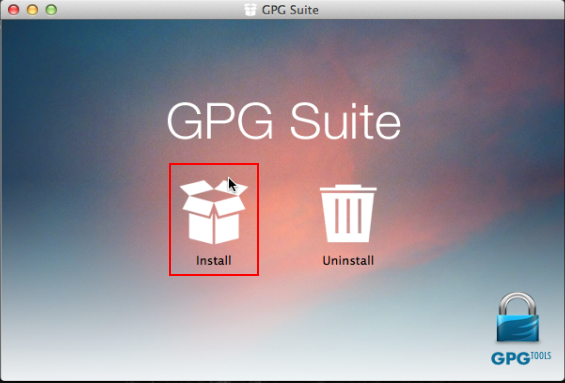
- Follow the installation process. Once complete, close the window.
Part 2 – Creating your keypair
GPG Suite makes this a very simple process. We’ll be using a 4096-bit key length for encryption.
- Open GPG Keychain.
- Click New at the top left.
- Open Advanced options and set key length to 4096.
- Uncheck key expires.
- Enter your full name, email, and a secure passphrase.
- Click Generate key.
- Create entropy by moving your mouse, typing, or running downloads while the key generates.
- Once finished, your keypair is ready.
Part 3 – Setting up the environment
OS X differs slightly from other platforms. The suite doesn’t include a dedicated encrypt/decrypt window, so we must enable system services.
- Open System Preferences → Keyboard.
- Select Keyboard Shortcuts, then Services.
- Scroll to the Text section and locate OpenPGP options.
- Disable existing OpenPGP shortcuts.
- Enable Decrypt, Encrypt, and Import Key.
- Assign keyboard shortcuts if desired, then close the window.
Part 4 – Obtaining your public key
- Open GPG Keychain and select your key.
- Click Export.
- Name the file and ensure Include secret key is unchecked.
- Save the file.
- Open it in a text editor and copy the contents.
- Paste this public key wherever others need to contact you securely.
Part 5 – Obtaining your private key
- Open GPG Keychain and select your key.
- Click Export.
- Check Include secret key in exported file.
- Save the file securely.
Important: Store this file safely and never forget your passphrase.
Part 6 – Importing a public key
- Find the public key you want to import.
- Copy everything between
BEGIN PGP PUBLIC KEY BLOCKandEND PGP PUBLIC KEY BLOCK. - Paste it into a text editor.
- Highlight the text, right-click, go to Services → OpenPGP: Import key.
- Confirm the import and verify it appears in GPG Keychain.
Part 7 – Importing a private key
- Open GPG Keychain and click Import.
- Select your
.asckey file. - Click Open and confirm the import.
Part 8 – Encrypting a message
- Write your message in a text editor.
- Highlight the text and right-click.
- Select Services → OpenPGP: Encrypt.
- Choose the recipient and optionally sign the message.
- Click OK, then copy and send the encrypted output.
Part 9 – Decrypting a message
- Paste the encrypted message into a text editor.
- Highlight the entire message.
- Right-click and select Services → OpenPGP: Decrypt.
- Enter your passphrase and click OK.
- Your decrypted message will appear.
Part 10 – Conclusion
That wasn’t too hard, was it? As mentioned earlier, OS X is generally not recommended for privacy-sensitive activities, but the choice is yours. Setting this up can take time, especially in a virtual machine. A Windows guide will be coming next week!